LimeSDR Quick Start: Difference between revisions
AndrewBack (talk | contribs) No edit summary |
AndrewBack (talk | contribs) |
||
| Line 2: | Line 2: | ||
== Assemble the hardware == | == Assemble the hardware == | ||
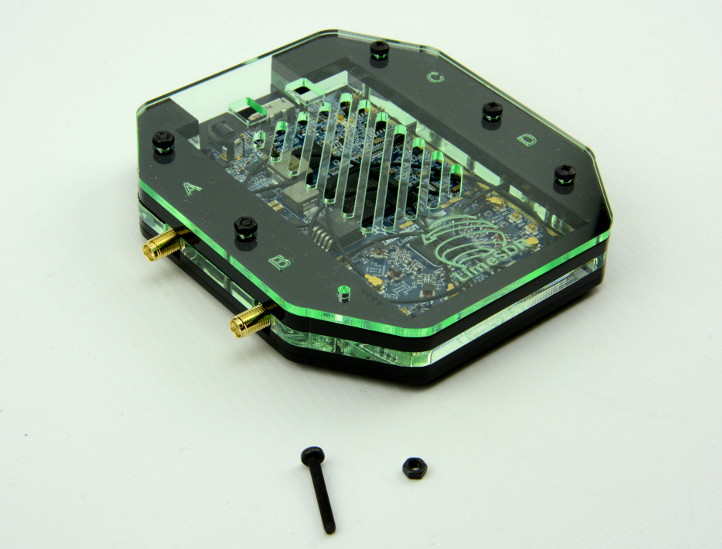
[[File:LimeSDR-USB_acrylic_case_asembly.jpg]] | |||
Unless you have U.FL to SMA cables for all the RF ports on the LimeSDR — and optionally a suitable case — decide which RF ports you are going to connect to. | Unless you have U.FL to SMA cables for all the RF ports on the LimeSDR — and optionally a suitable case — decide which RF ports you are going to connect to. | ||
Revision as of 12:54, 28 January 2017
So you've received your LimeSDR board... what next? This page is intended to help you get up and running as quickly as possible.
Assemble the hardware
Unless you have U.FL to SMA cables for all the RF ports on the LimeSDR — and optionally a suitable case — decide which RF ports you are going to connect to.
If you have a LimeSDR Acrylic Case see the assembly instructions.
Connect the LimeSDR to your computer
Depending on which board variant you have, it will require one of the following USB 3.0 cables:
- Type A plug to Type Micro B plug
- Type A plug to A socket
Install Lime Suite
Lime Suite provides an SDR driver and a configuration GUI, along with numerous utilities. Support is provided for the following platforms:
- Linux (Ubuntu packages)
- Mac OS X (Homebrew)
- Windows (PothosSDR Installer)
It can be installed from source or via packages/installler. Note that a O/S driver must also be installed on Windows.
For further details see Lime Suite.
Testing
The Lime Suite wiki page explains how LimeUtil can be used to get a list of available devices, and SoapySDRUtil to verify that it will be available to ecosystem SDR applications via SoapySDR.
Low level testing of RX and TX directly via the Lime Suite GUI is also described in LimeSDR-USB Quick Test.
| |||||||||||||||||||||
